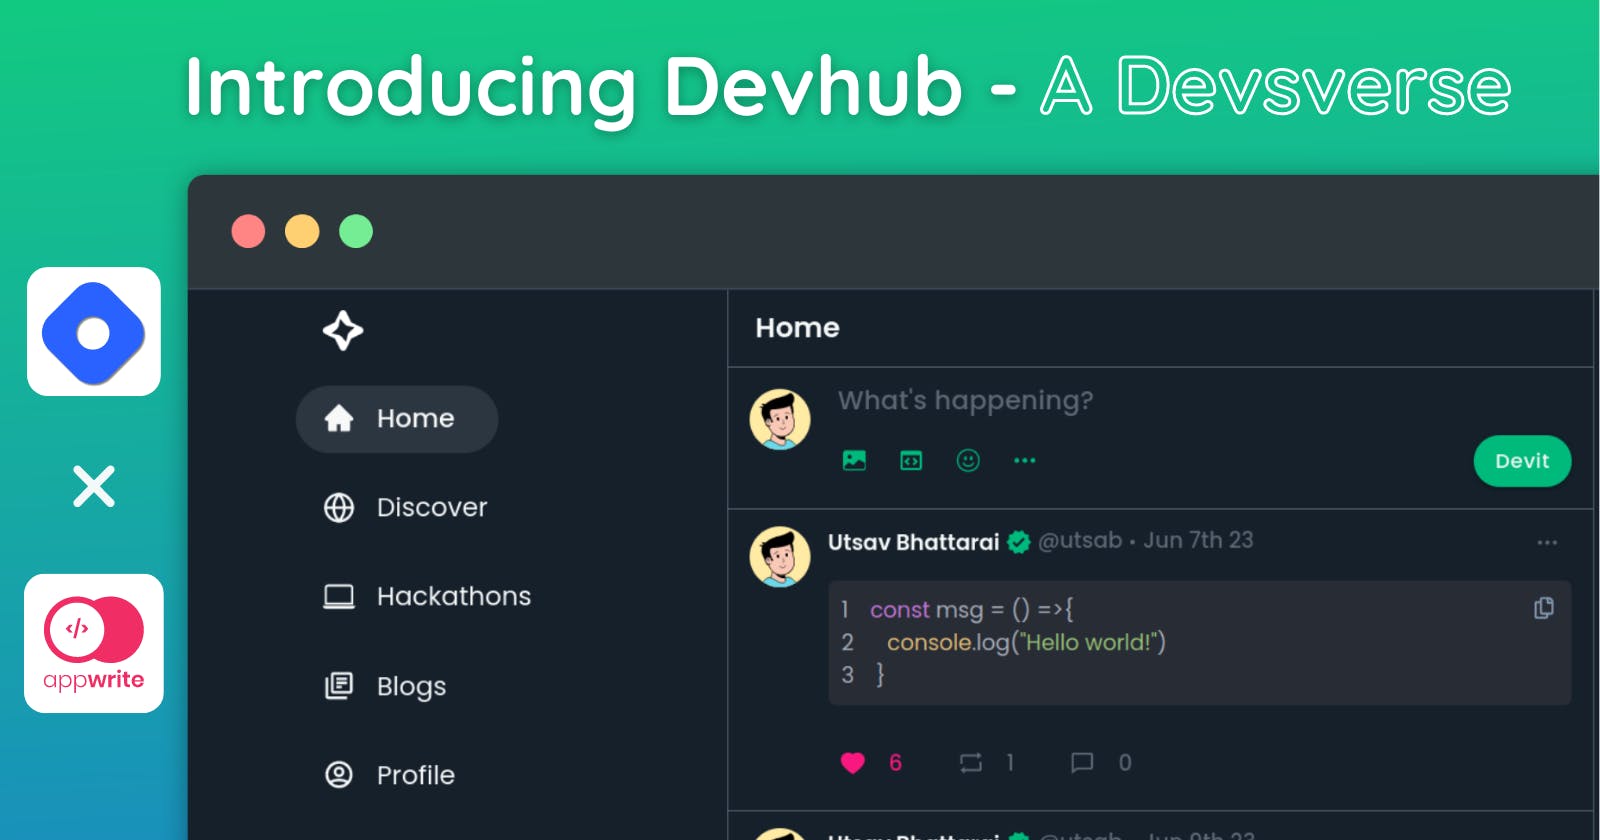


Devhub - Appwrite X Hashnode
In the fast-paced world of technology, developers constantly seek ways to connect, collaborate, and stay up-to-date with the latest trends. That's where DevHub comes in. DevHub is a dynamic web application designed to bridge the gap between developers, providing a platform for them to connect, showcase their work, and explore exciting hackathons. Developed as part of the Appwrite X Hashnode Hackathon, I am thrilled to introduce DevHub and share the story behind its creation.
Team details
Prepare to be amazed by the solo mastery of its creator—me! Witness the extraordinary capabilities of DevHub, a coding marvel born from my singular vision and unwavering passion. Join me as we revolutionize the developer landscape and unleash the true potential of every coder.
GitHub: utsavbhattarai007
Hashnode: Utsav bhattarai
Description of Project
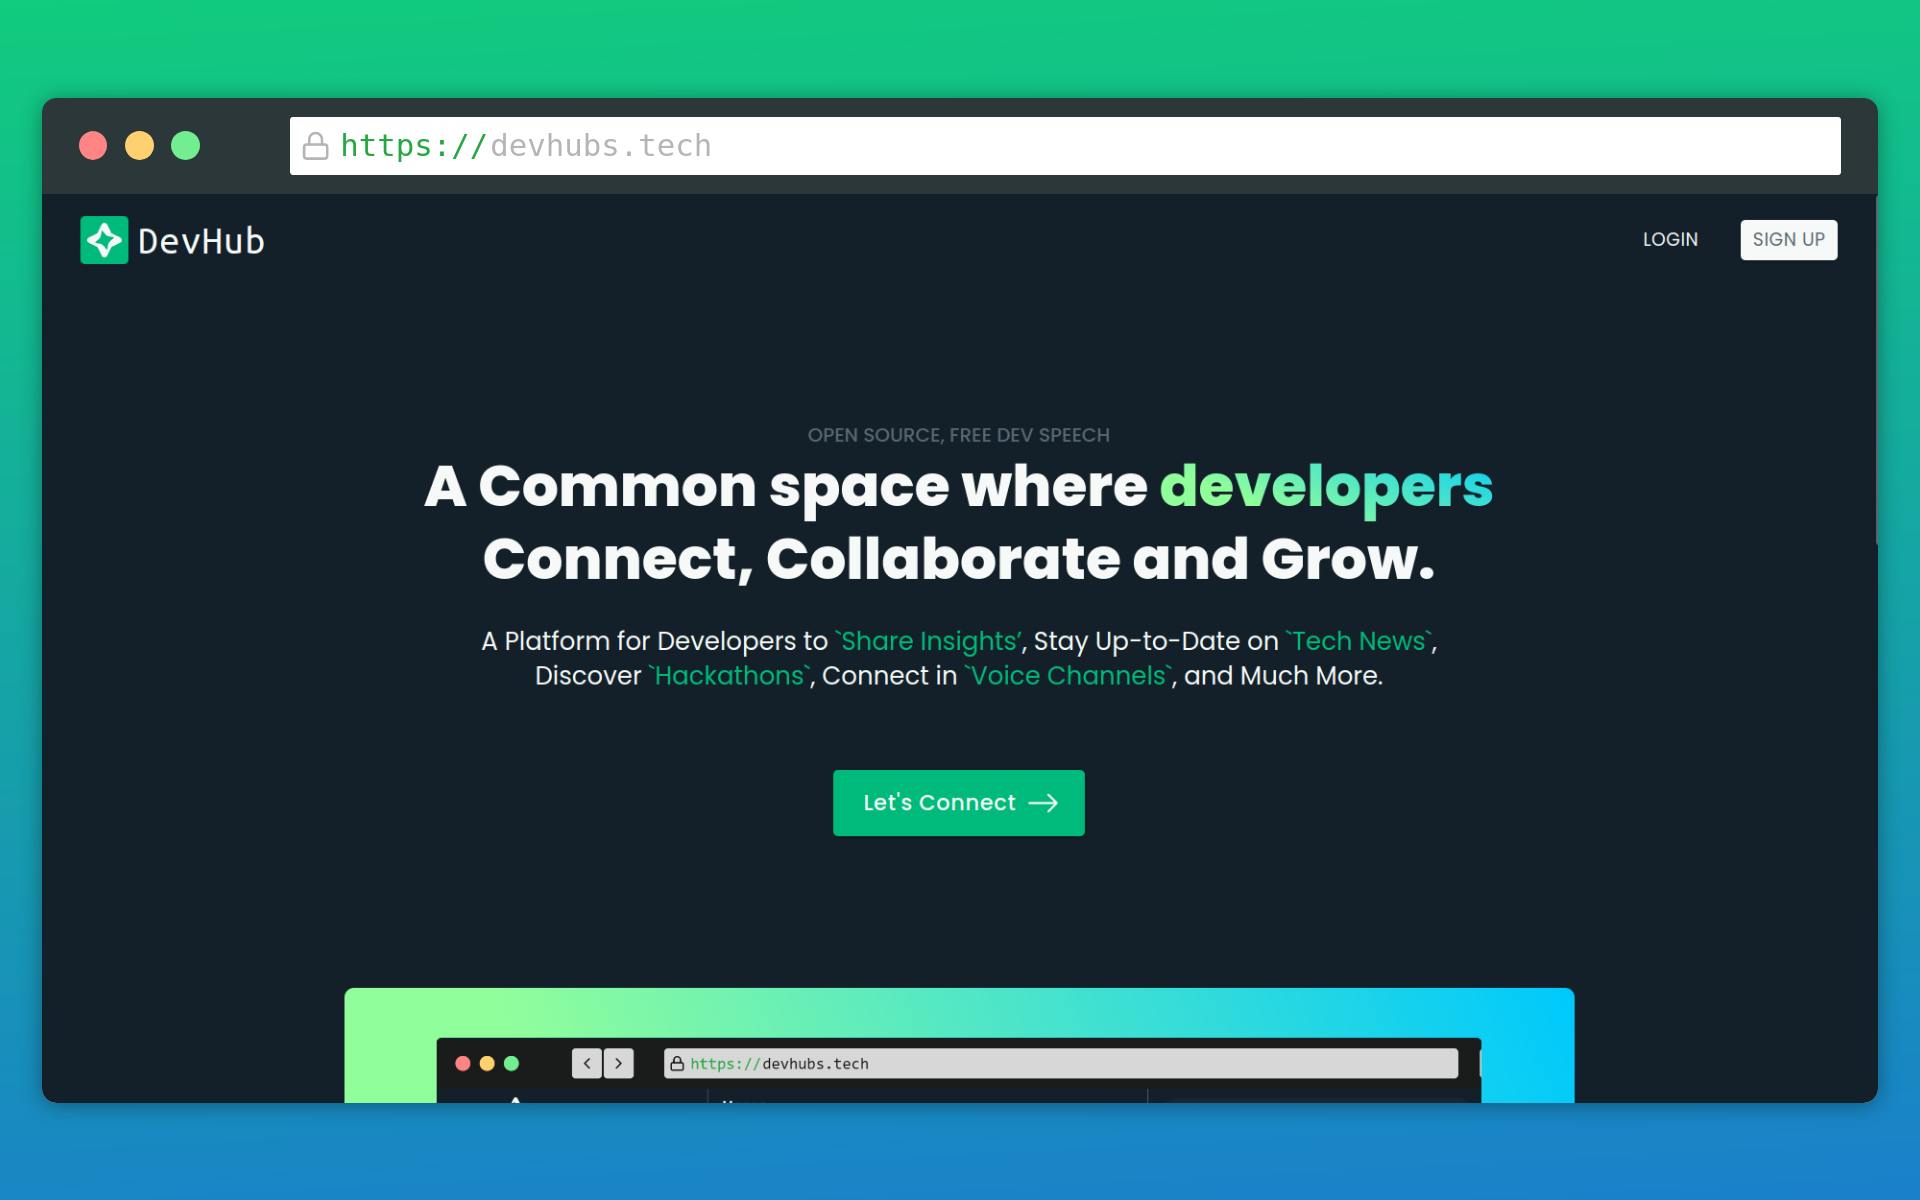
DevHub is more than just a social networking platform for developers—it's a hub of innovation and knowledge-sharing. With its intuitive interface inspired by Twitter, DevHub allows developers to connect, engage, and share their insights within a supportive community. The platform facilitates seamless communication through features like tweeting, retweeting and creating a sense of unity and collaboration.
But DevHub doesn't stop at fostering connections. It goes a step further by curating and displaying popular tech blog posts from around the internet, ensuring developers are always up-to-date with the latest industry trends and it also helps to get info about the ongoing hackathons around the globe. lastly, These things help the developer to expand their reach and build their online presence effortlessly.
Tech Stack
The tech stack for DevHub comprises several powerful technologies and frameworks that work together seamlessly to deliver a robust and engaging web application. Here are the key components of the tech stack:
Frontend:
- React JS: A popular JavaScript library for building user interfaces, offering a component-based approach and efficient rendering.
Backend:
- Node.js: A JavaScript runtime built on Chrome's V8 engine, enabling server-side development with JavaScript.
Appwrite Cloud Services:
Database: Appwrite's database service provides a secure and scalable solution for storing and retrieving data.
Authentication: Appwrite's authentication service handles user authentication and security, ensuring secure access to DevHub's features.
Functions: Appwrite's serverless functions enable the execution of custom logic and backend operations, enhancing the platform's capabilities. In Devhub, This service is used for crawling blog posts and hackathons around the globe.
Storage: Appwrite's storage service allows efficient and reliable file storage and retrieval, supporting various media types. This services is used to store the image of devits(Devhub's post).
This tech stack combination provides a solid foundation for DevHub, enabling efficient frontend development with React JS, seamless server-side implementation with Node.js and Express, and leveraging Appwrite's cloud services for database management, authentication, custom functions, and storage operations.
Why Appwrite?
In reality, I first heard about Appwrite several months ago and was intrigued to learn more about it. However, as a student, I found it challenging to balance my studies with exploring Appwrite. I patiently waited for an opportunity, and finally, after completing my 12th standard exams, I discovered the Appwrite hackathon on Hashnode. This motivated me to dive into learning Appwrite and create some amazing projects.
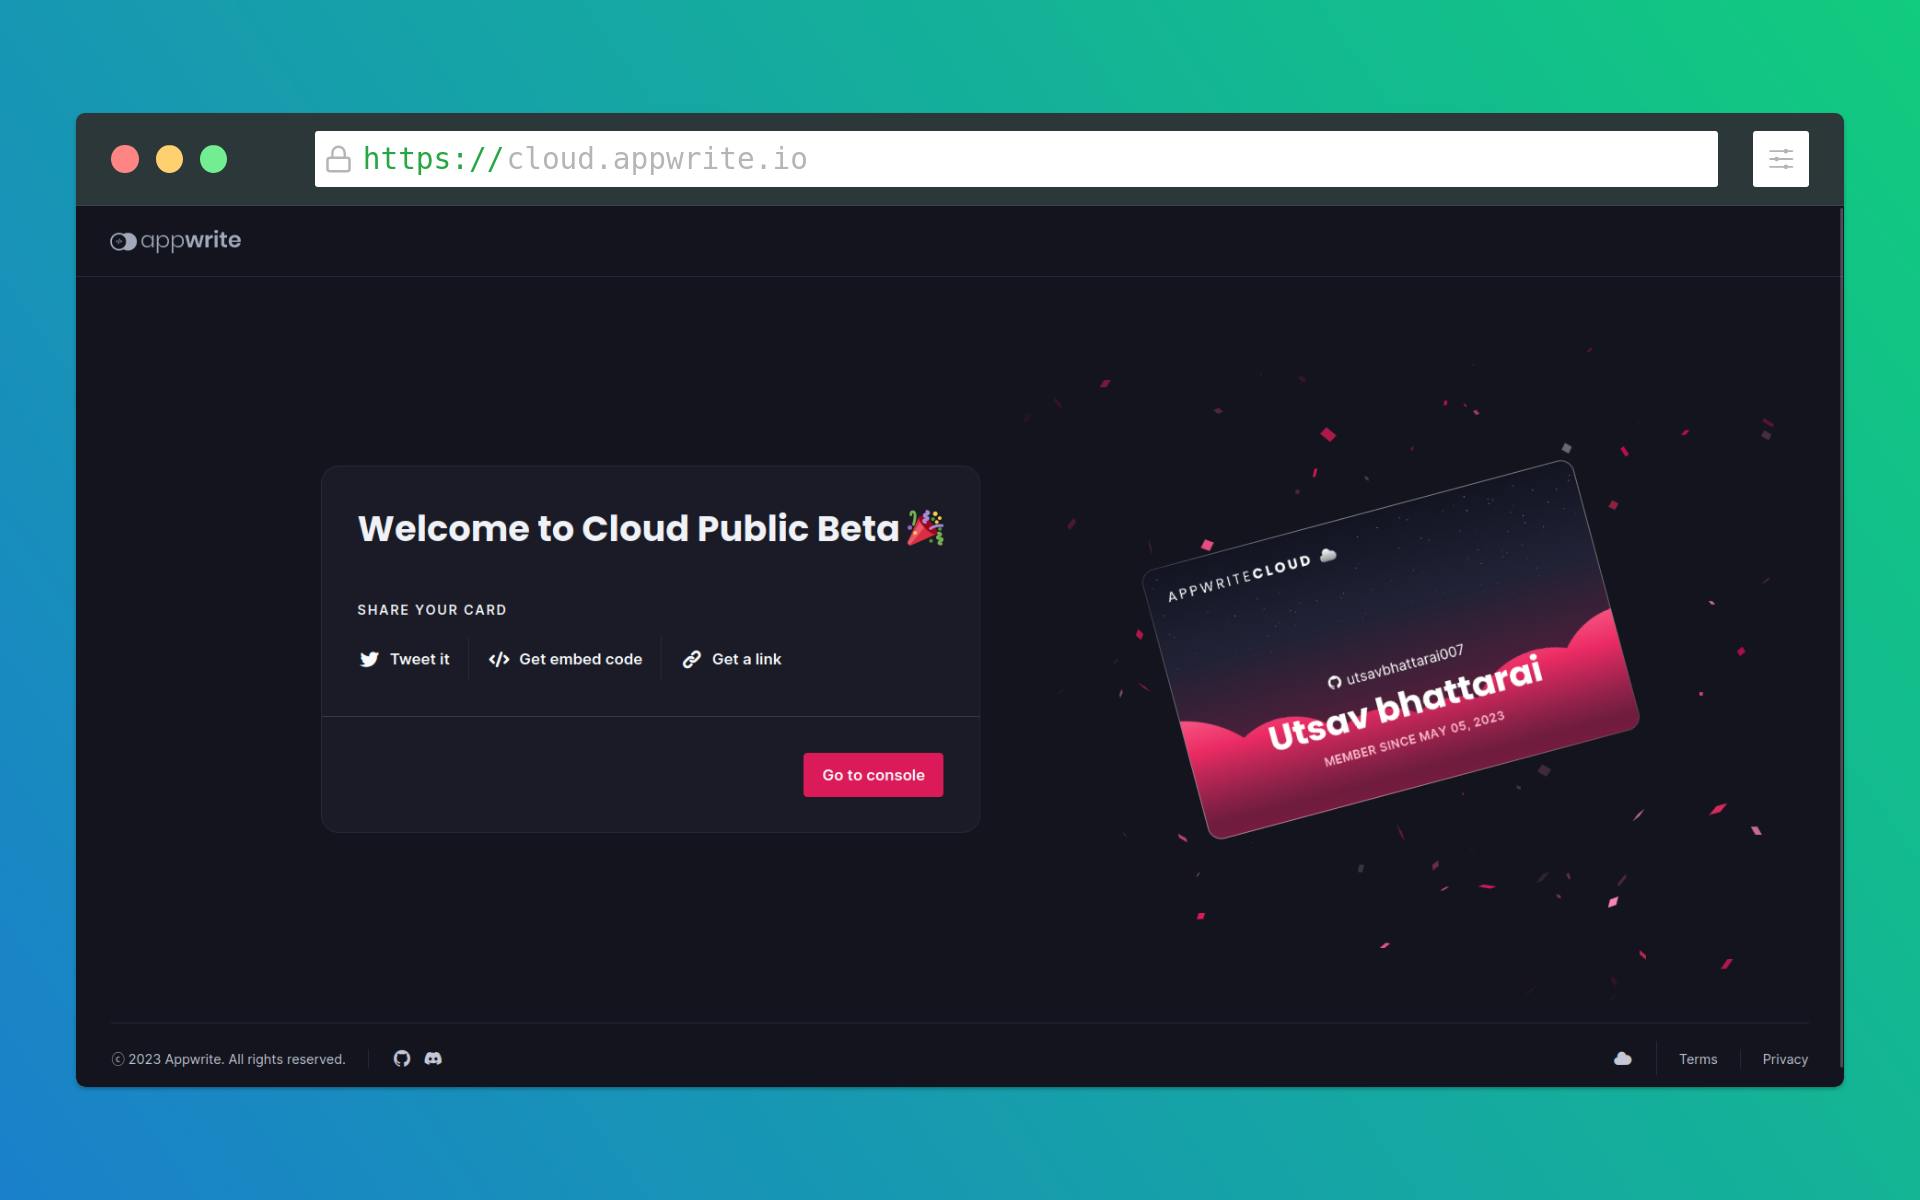
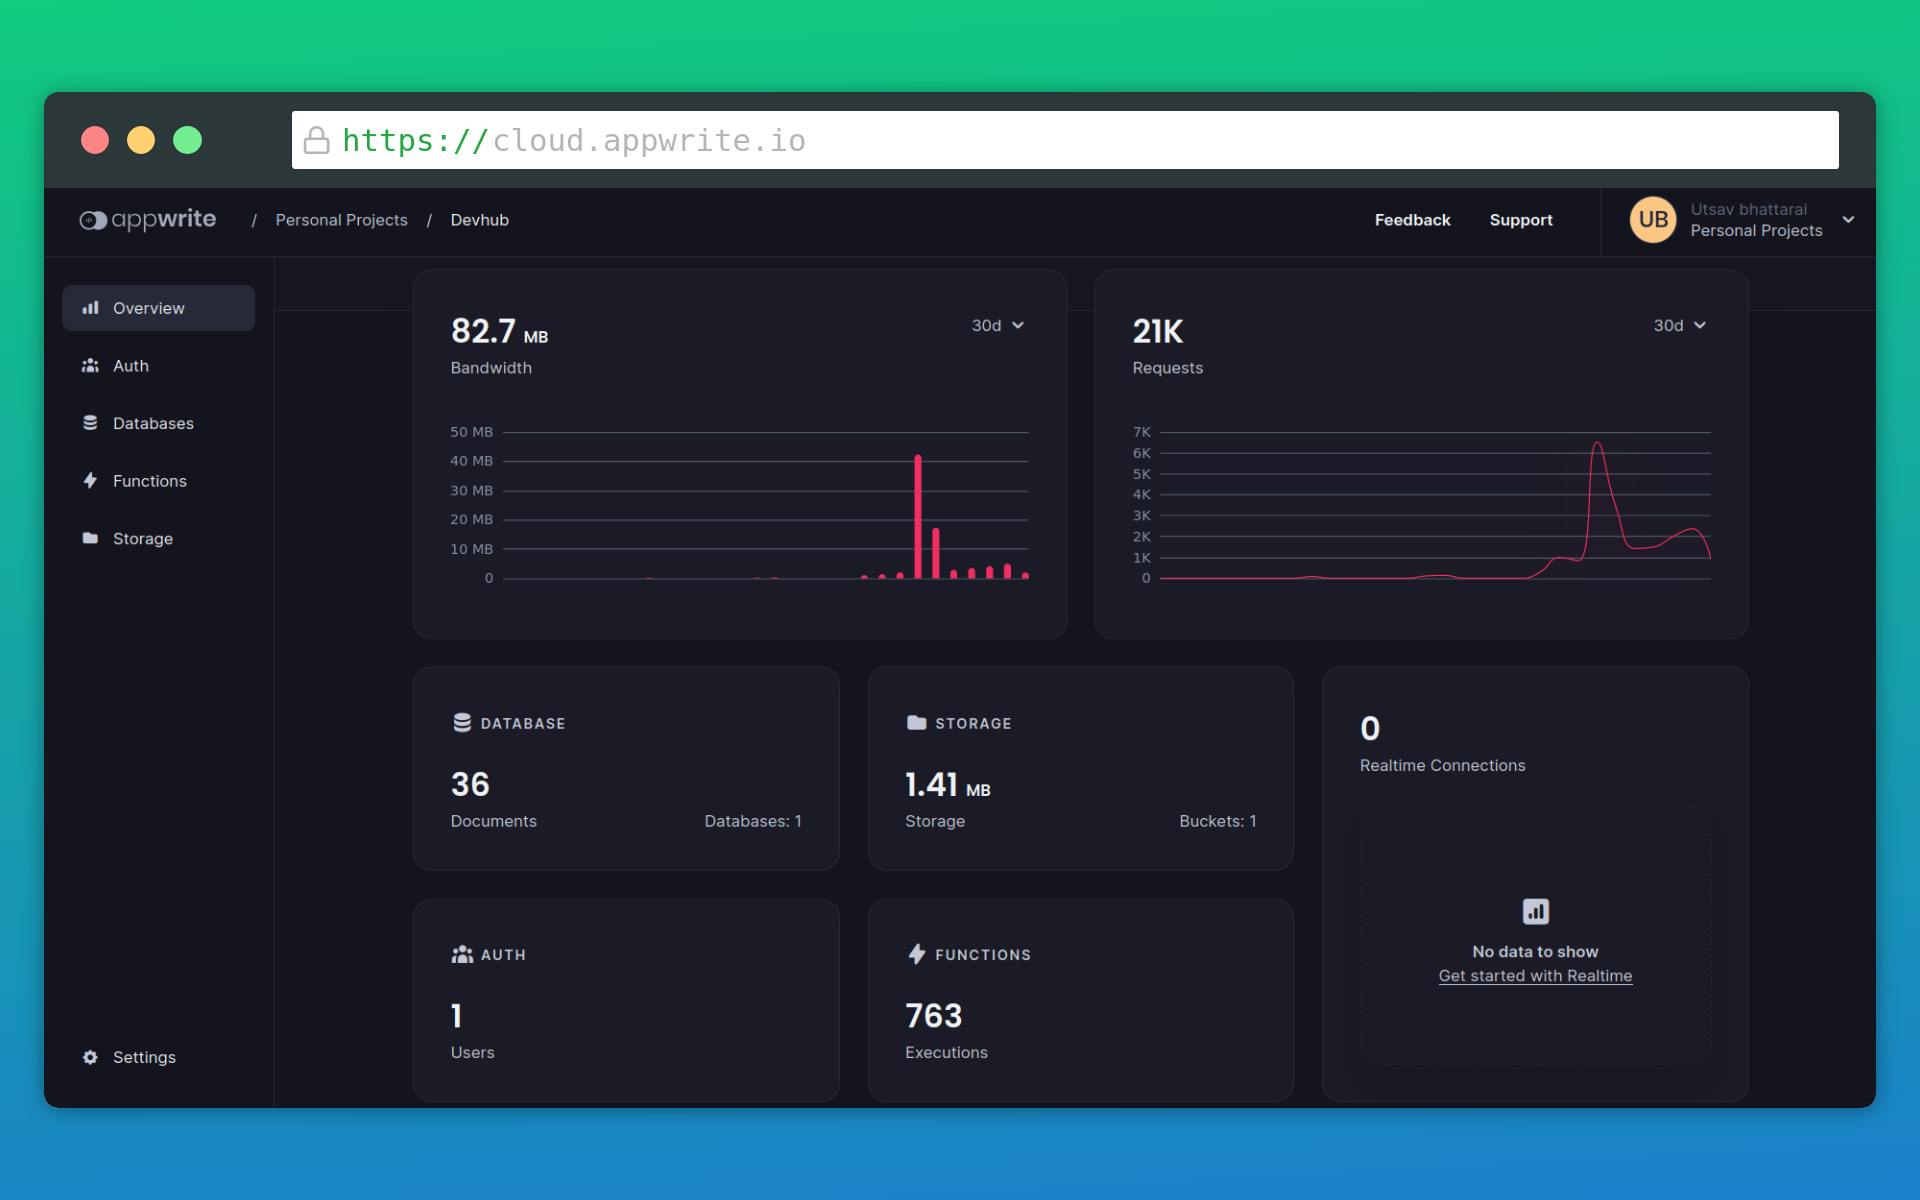
During my free time, I dedicated myself to researching Appwrite. Initially, I was uncertain about how to set up, configure, and work with Appwrite on my local system using Docker. Fortunately, Appwrite released its cloud infrastructure, which made the setup and usage much easier and I also love the Appwrite cloud card:
Once I started learning Appwrite Cloud, I was fascinated by how seamlessly it provided awesome features. My goal was to build a platform for developers to connect, share, and collaborate. Appwrite turned out to be the perfect backend tech stack for this project. It offers user-friendly authentication methods, including a wide range of social media login platforms. Additionally, the fast and efficient database, where data is stored as collections, along with the Appwrite Functions and bucket storage services, captured my attention. These services were incredibly easy to use and provided outstanding performance. Choosing Appwrite was the best option to transform my idea into a real-world project.
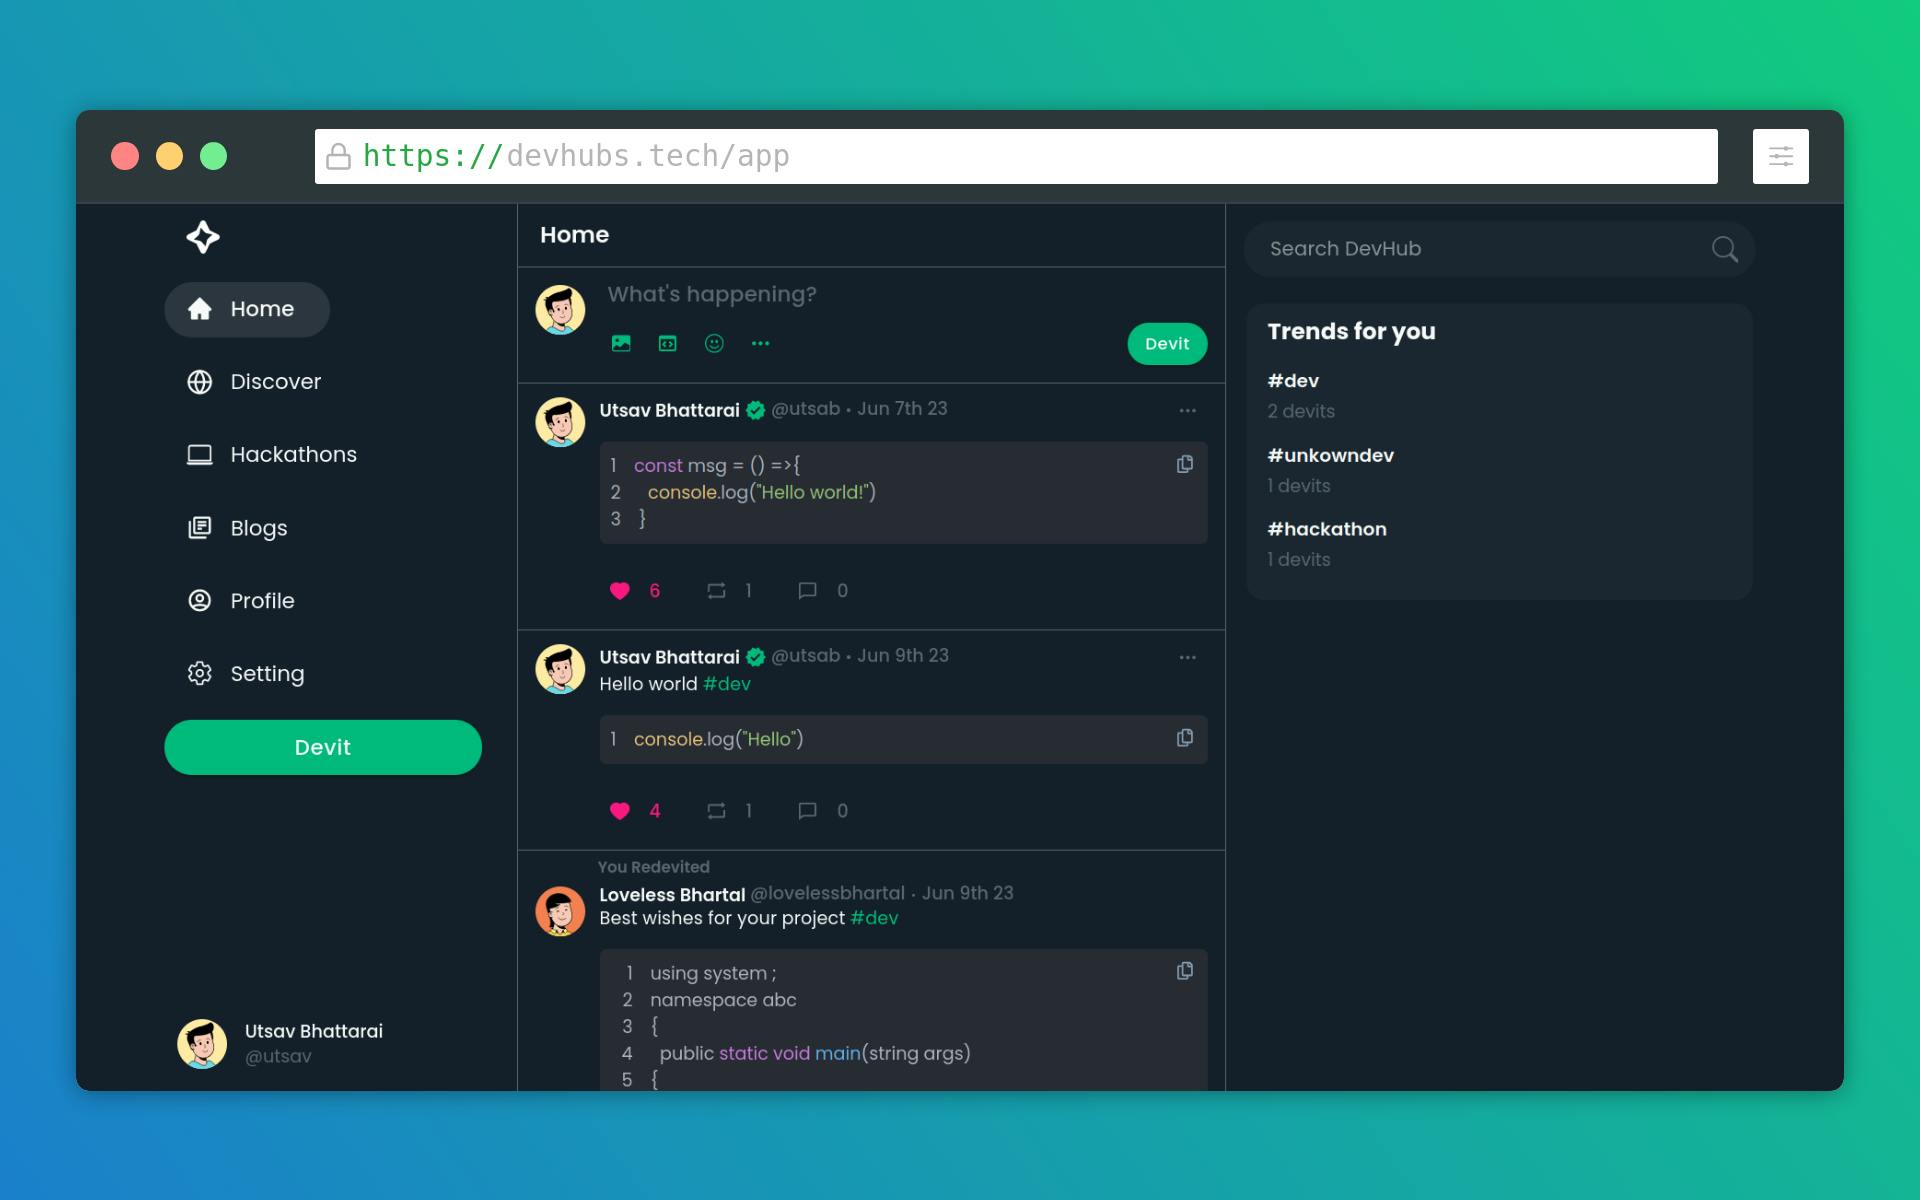
Quick look
Home page
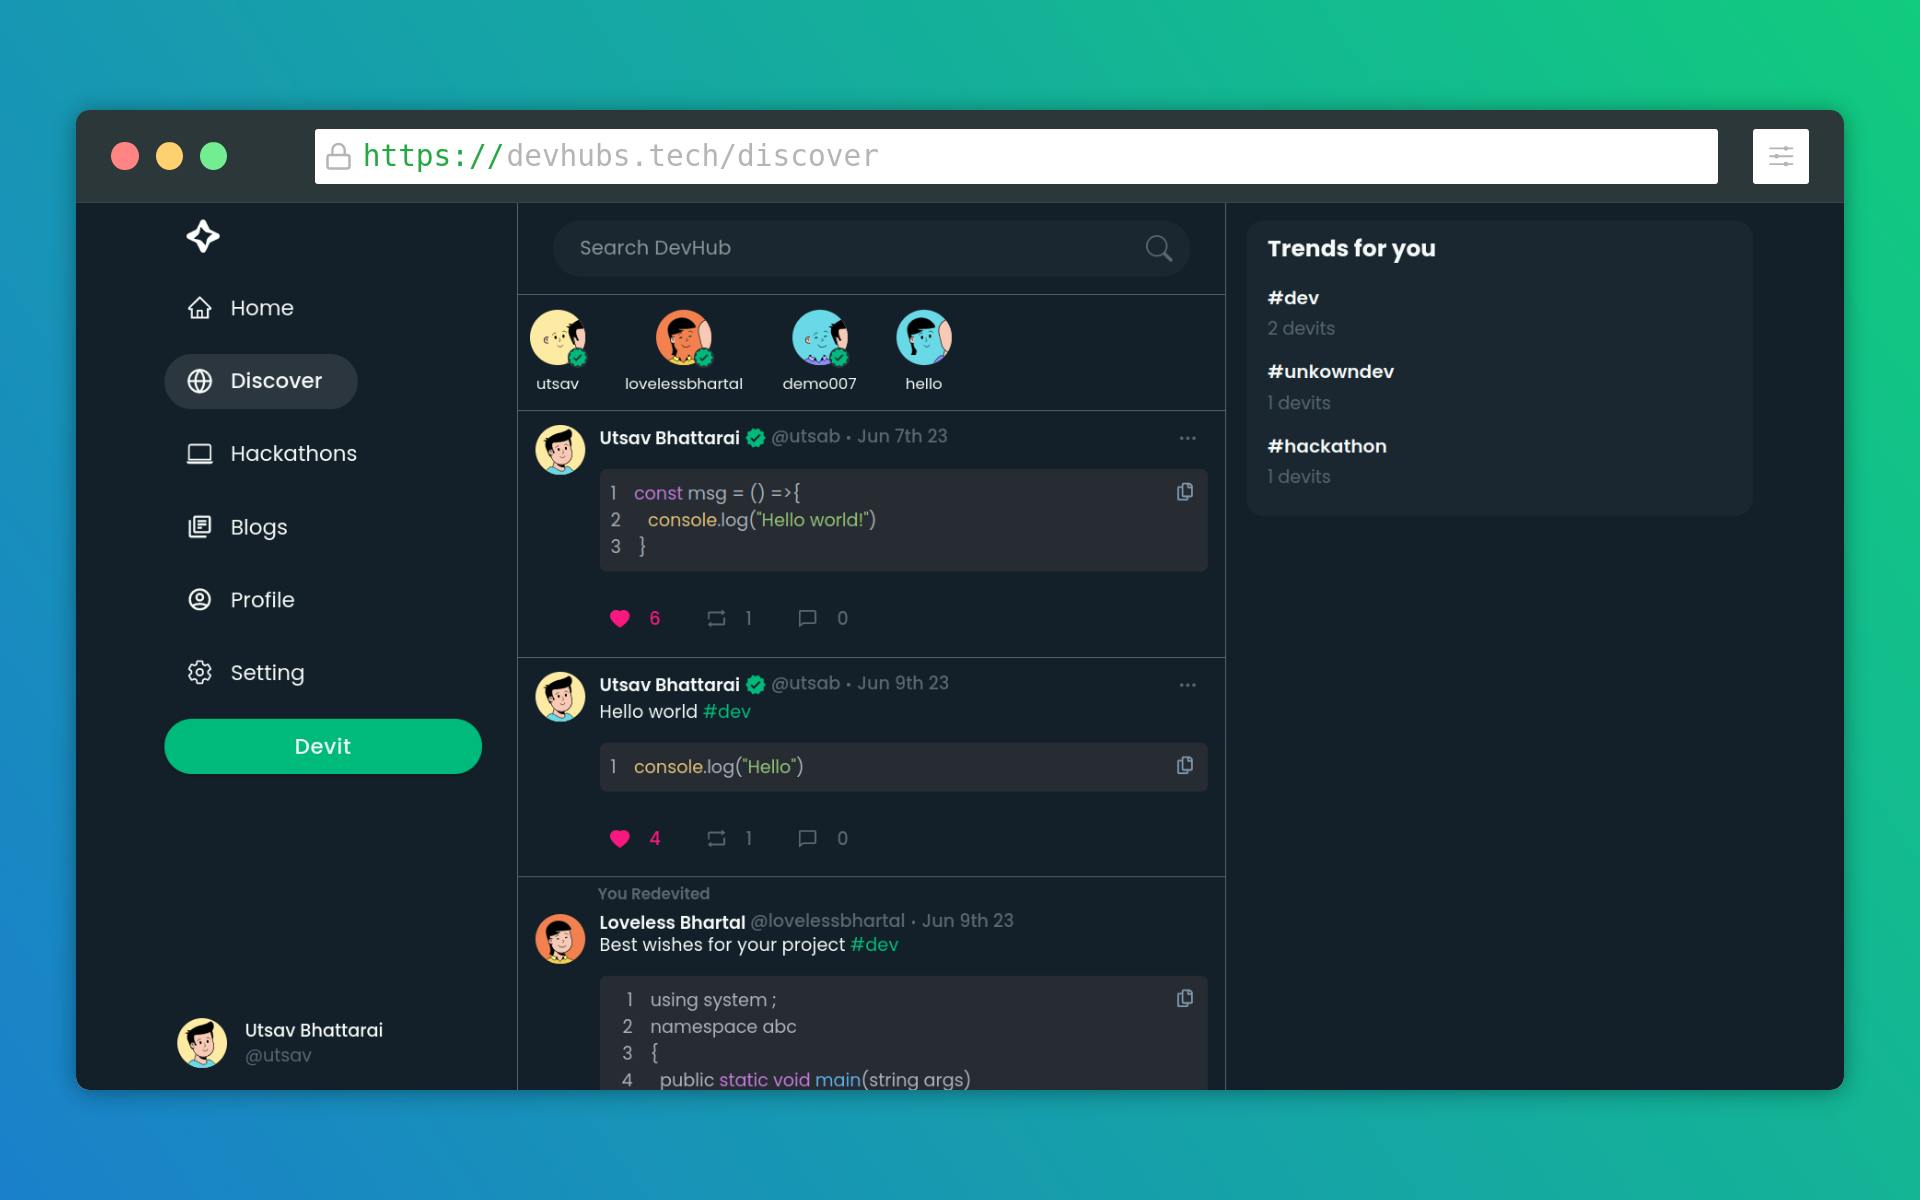
Discover page
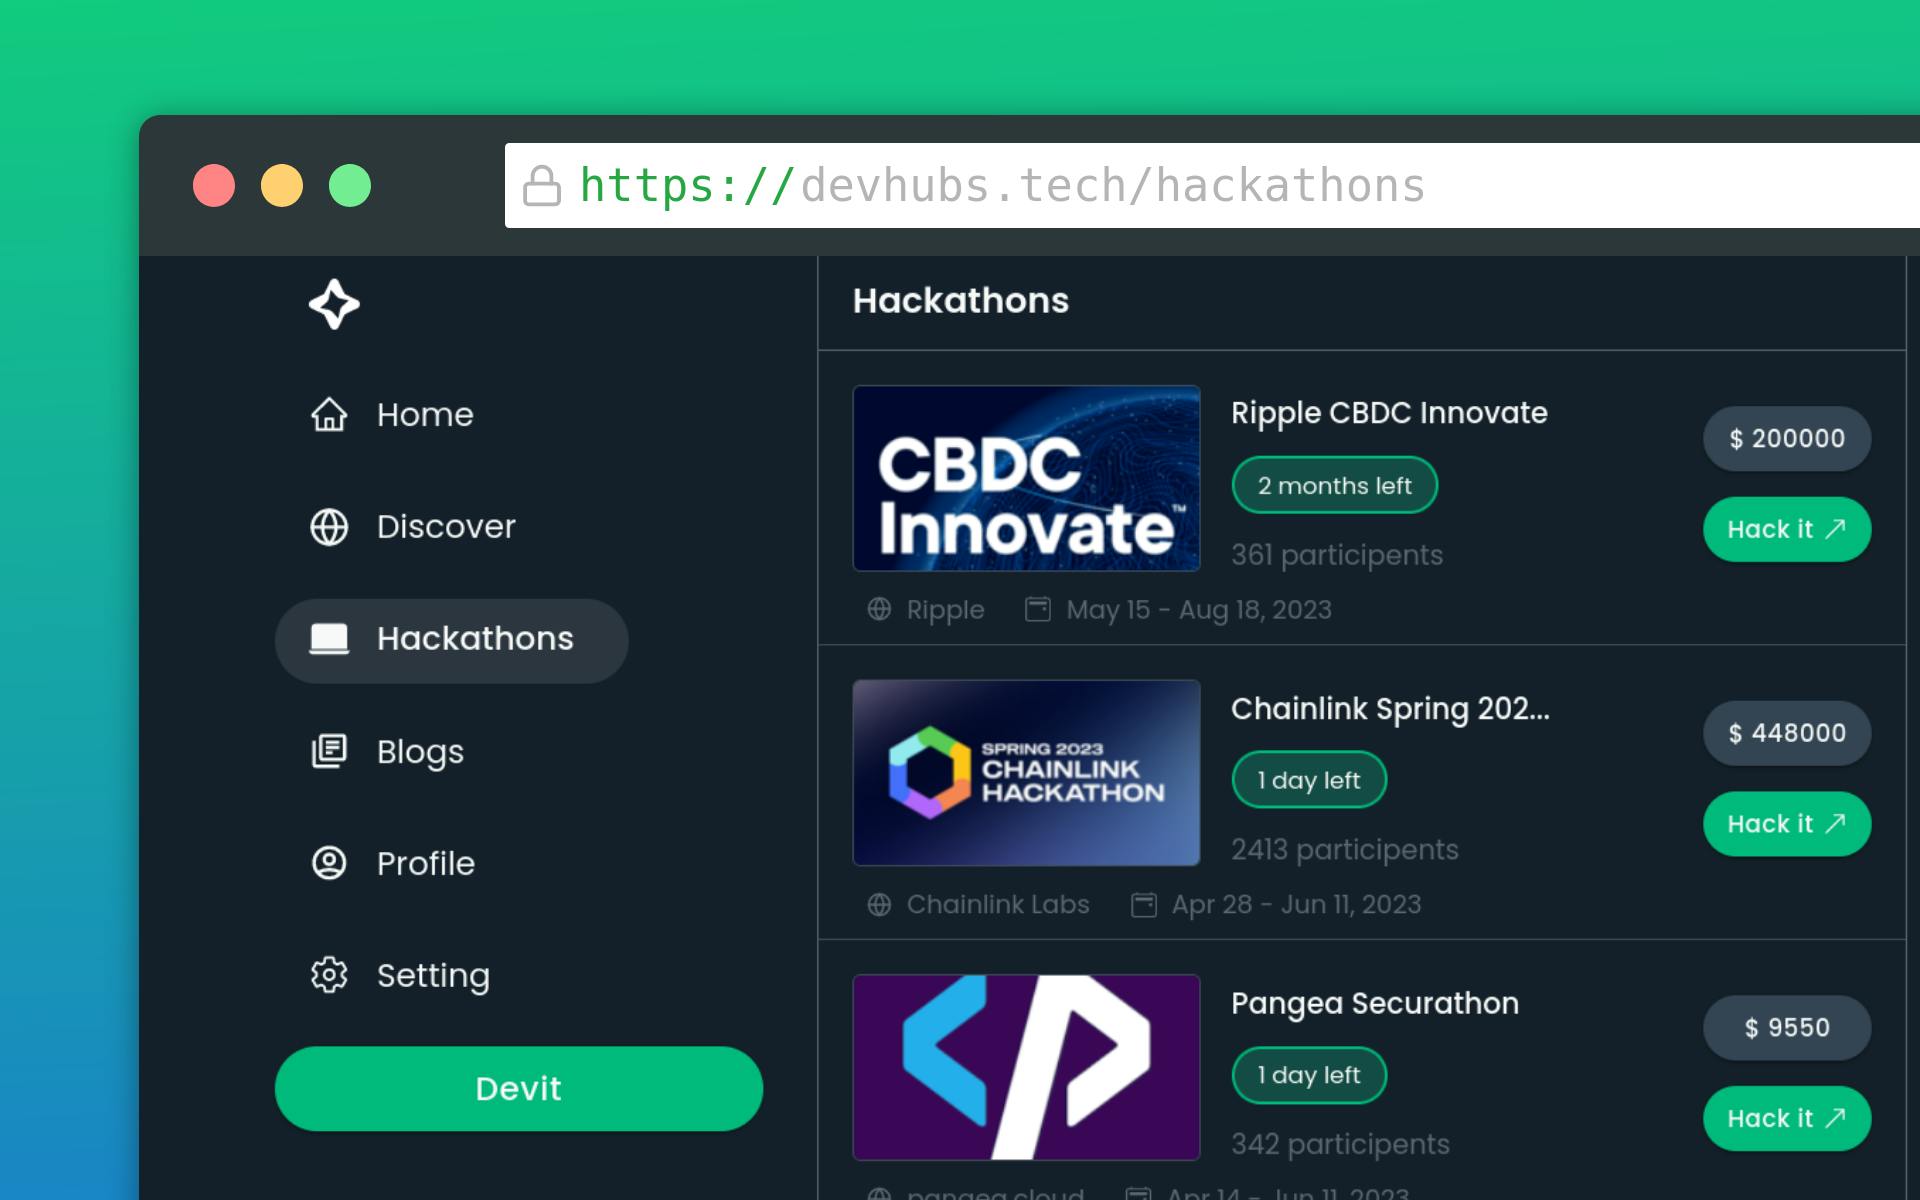
Hackathons Page
Blogs page

Profile Page

Setting Page

Specific Post Page

Login Page

Profile complete page

How I used Appwrite?
I utilized nearly all of Appwrite's features, tailoring them to meet my specific needs and objectives. Features that I used are as follows:
1. Database
In my project, I utilized the database service provided by Appwrite to store various types of data, such as user information, devits (devhub posts), hackathons, and blogs. To configure Appwrite in my React Vite project, I used this command:
appwrite init
In the file named "appwriteConfig.js," I imported the necessary services from the Appwrite library, including Client, Account, Databases, and Storage.
Here's a simplified version of the code:
import { Client, Account, Databases, Storage } from "appwrite";

const client = new Client();
client
  .setEndpoint("https://cloud.appwrite.io/v1") // API Endpoint
  .setProject("PROJECT ID"); // Project ID

export const account = new Account(client);
export const storage = new Storage(client);
export const database = new Databases(client, "DATABASE ID");
For performing CRUD operations, I made use of the Appwrite database's different methods. Here's a simplified example:
import { database } from "../appwrite/appwriteConfig";

const methods = async () => {
  const res = await database.createDocument("DATABASE ID", "COLLECTION ID", uniqueid, {
    // data
  });

  const res = await database.listDocuments("DATABASE ID", "COLLECTION ID", [
    // query to fetch data
  ]);

  const res = await database.updateDocument("DATABASE ID", "COLLECTION ID", "DATA ID", {
    // updated data
  });

  const res = await database.deleteDocument("DATABASE ID", "COLLECTION ID", "DATA ID");
};
Note: The code provided is a simplified representation and may require additional implementation details for real-world execution. For more comprehensive code examples, you can refer to the Appwrite documentation or visit my GitHub repository.
2. Authentication
To enable social media login authentication using Google in Appwrite's Devhub, you need to set up Google authentication in Appwrite by creating a Google Console project and configuring the OAuth Client ID. Appwrite will provide you with a redirect URL that you'll need to add to the Google Credentials page.
Here's an example of how you can set up Google authentication in the frontend:
import { account } from "../appwrite/appwriteConfig";

const googleSignin = async () => {
  const res = await account.createOAUTH2Session(
    "google",
    "SUCCESS REDIRECT URL",
    "FAILURE REDIRECT URL"
  );
};
In the googleSignin function, you can call account.createOAUTH2Session with the "google" provider to initiate the Google authentication flow. Replace the "SUCCESS REDIRECT URL" and "FAILURE REDIRECT URL" with the appropriate URLs according to your project.
3. Function

In my project, I leveraged the Appwrite Function services to crawl popular blogs from Hashnode and the latest hackathons from Devpost. I then updated the respective collections for blogs and hackathons.
To begin, I initialized the Appwrite Function by executing the command:
appwrite init function
Following that, I wrote the necessary code to crawl the hackathons and blogs from Devpost and Hashnode. Once the code was complete, I deployed it using the command:
appwrite deploy function
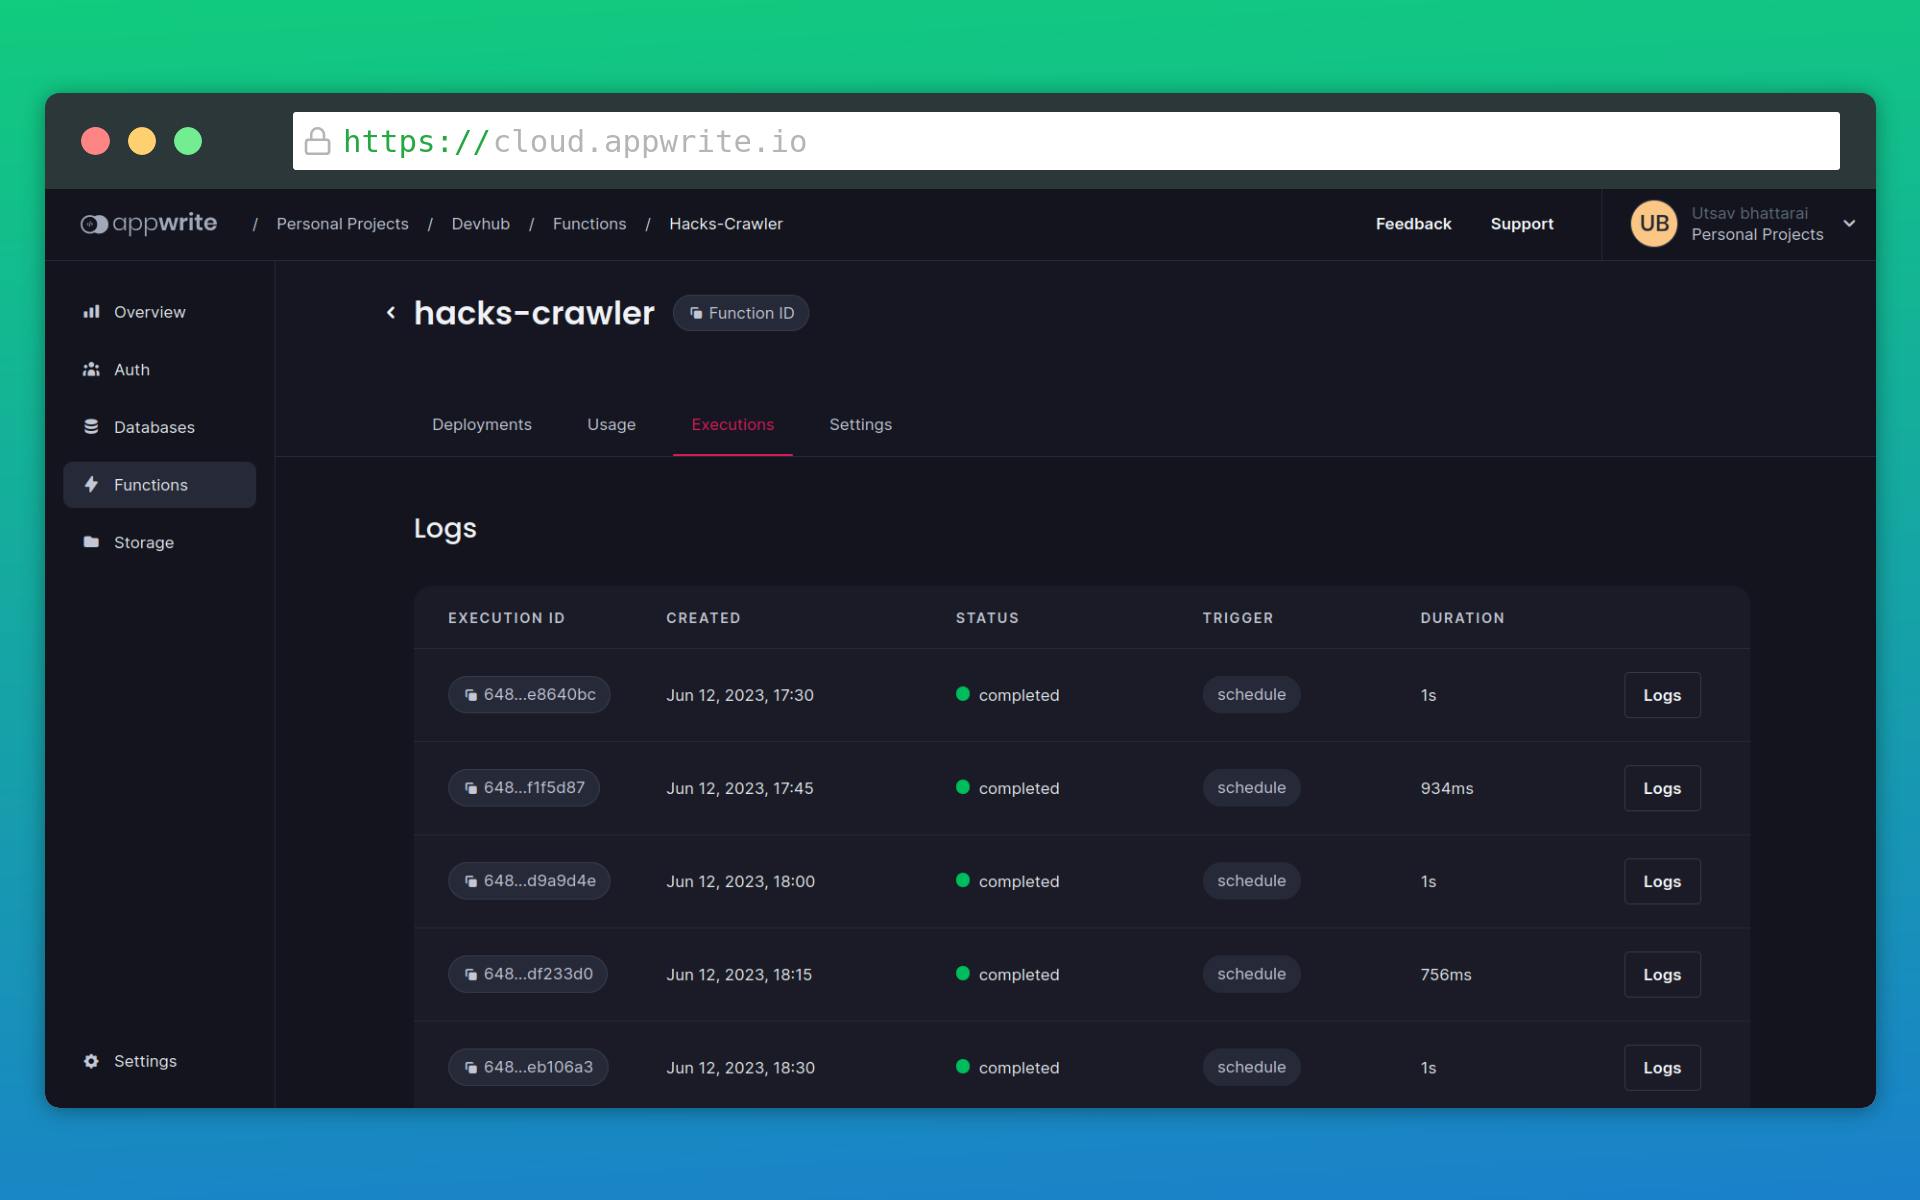
This allowed the function to be live and operational, enabling the crawling and updating of the blogs and hackathons collections.
This is the execution of hackathons crawler:
4. Storage
In this project, I utilized the Storage service provided by Appwrite to store images from Devits (Devhub's posts). Here's an example of how the Storage service can be used:
import { storage } from "../appwrite/appwriteConfig";

const uploadImg = async () => {
  const res = await storage.createFile('[STORAGE BUCKET ID]', '[UNIQUE ID]', [FILE]);

  // To preview and retrieve the image URL, you can use the following:
  const imgUrl = await storage.getFilePreview('[BUCKET ID]', res.$id);
};
By calling the uploadImg function, you can upload an image to the specified storage bucket using the storage.createFile method. Replace [STORAGE BUCKET ID] with the appropriate ID of the storage bucket provided by appwrite. Also, replace [UNIQUE ID] with a unique identifier for the image, and [FILE] should be replaced with the actual file object or data.
To preview and retrieve the URL of the uploaded image, you can use the storage.getFilePreview method, passing the [BUCKET ID] and the unique ID of the uploaded image (res.$id) as parameters.
Challenges I faced
As a first-time user of Appwrite, I faced numerous challenges while building my real-world project with it. While working with React.js for the frontend, I encountered relatively fewer challenges since I was already familiar with it. However, when it came to using Appwrite, I faced several difficulties and obstacles. Some of the major challenges are as follows:
Designing Theme: I struggled with deciding on a suitable theme for my project's design. Eventually, I chose to adopt a Twitter-like design with some modifications to create the Devhub interface.
Querying Documents: I encountered a major challenge while querying documents using Appwrite. After a considerable amount of brainstorming, I realized that I had forgotten to create an index for the collection I was querying. This oversight caused a significant delay in progress as I spent half a day rectifying the issue.
Array of Objects: Another challenge arose when I needed to store an attribute as an array of objects, which was not directly supported by Appwrite. Seeking assistance in the Appwrite Discord server, I received help from a mentor who suggested converting the attribute to a string array and pushing the object as a string. This workaround resolved the issue.
Hosting and Authentication: Upon hosting my frontend, I encountered authentication errors that were not present during local development. Seeking guidance in the Appwrite community, a mentor identified the problem. It turned out that I had forgotten to properly set up the platform in Appwrite, which caused the authentication issues. Once the setup was correctly configured, the problem was resolved.
Despite these challenges, the support from the Appwrite community and mentors proved invaluable in finding solutions and overcoming the obstacles faced during the development process.

PS: Appwrite Mentor helping to solve the issue
Despite these challenges, I was able to overcome them by learning from the experience and implementing appropriate solutions.
Important Links
Github Repo: Click here
Website Link: Click here
Demo Credentials
Only for Hashnode and Appwrite team. Normal user can sign in with google.
Email: demo007@gmail.com
Password: demo1234
Conclusion
In conclusion, building a real-world project with Appwrite and integrating it into a React.js frontend was a valuable learning experience. Despite facing various challenges along the way, such as designing the theme, querying documents, handling an array of objects, and resolving authentication issues during hosting, I was able to overcome these obstacles with the help of the supportive Appwrite community and mentors.
I am grateful for the resources and opportunities provided by Hashnode and Appwrite. Hashnode's platform enabled me to stay updated and engaged with the developer community, while Appwrite's powerful backend services simplified the development process and provided essential features like authentication, database management, storage, and functions.
I would like to express my sincere appreciation to both Hashnode and Appwrite for their continuous support, documentation, and the incredible communities they have fostered. The knowledge and experience gained through this project have undoubtedly been invaluable to my growth as a developer.